How to convert images to text with JavaScript using Tesseract.js
Use Tesseract.js to pull text from images on any platform that supports JavaScript
When we think about Optical Character Recognition otherwise known as (OCR) I'm sure a lot of crazy things come to mind. Most of us probably don't even really know what that means actually.
Basically, Optical Character Recognition (OCR) is the process that converts an image of text into a machine-readable text format. For example, if you scan a form or a receipt, your computer saves the scan as an image file. Then, you can use the image file as input to a computer program that reads the image and converts it into text.

Today, we're going to use the Tesseract.js library to convert an image of text into a machine-readable text format.

Let's get started!
Step 1: Include Tesseract.js
The first step is to include Tesseract.js in our new project. Go ahead and fire up VSCode or your favorite IDE.
<!DOCTYPE html>
<html lang="en">
<head>
    <meta charset="UTF-8">
    <meta http-equiv="X-UA-Compatible" content="IE=edge">
    <meta name="viewport" content="width=device-width, initial-scale=1.0">
    <title>Tesseract.js</title>
    <script src='https://unpkg.com/tesseract.js@v2.0.0-alpha.13/dist/tesseract.min.js'></script>
  </head>
</head>
<body>

</body>
</html>
If you prefer to use NPM, you can use the following command to install Tesseract.js:
npm install tesseract.js
Great, now that we have that installed, we need to add our main javascript file to our project at the end of our <body>.
<body>
    <script src="js/tesseract-ocr.js"></script>
</body>
</html>
Step 2: Set up our HTML
Now we need to set up our HTML and add the following elements below:
- Language Selector
- Image file selector
- Thumbnail preview of image selected
- Placeholder for OCR text
<select id="langsel">
<option value='eng' selected> English </option>
</select>
<input type="file" id="file-1" class="inputfile" />
<img id="selected-image"  src="" />
<div id="log">
  <span id="startPre">
      <a id="startLink" href="#">Click here to recognize text</a> or choose your own image
  </span>
</div>
Step 3: Initialize our project and run Tesseract.js
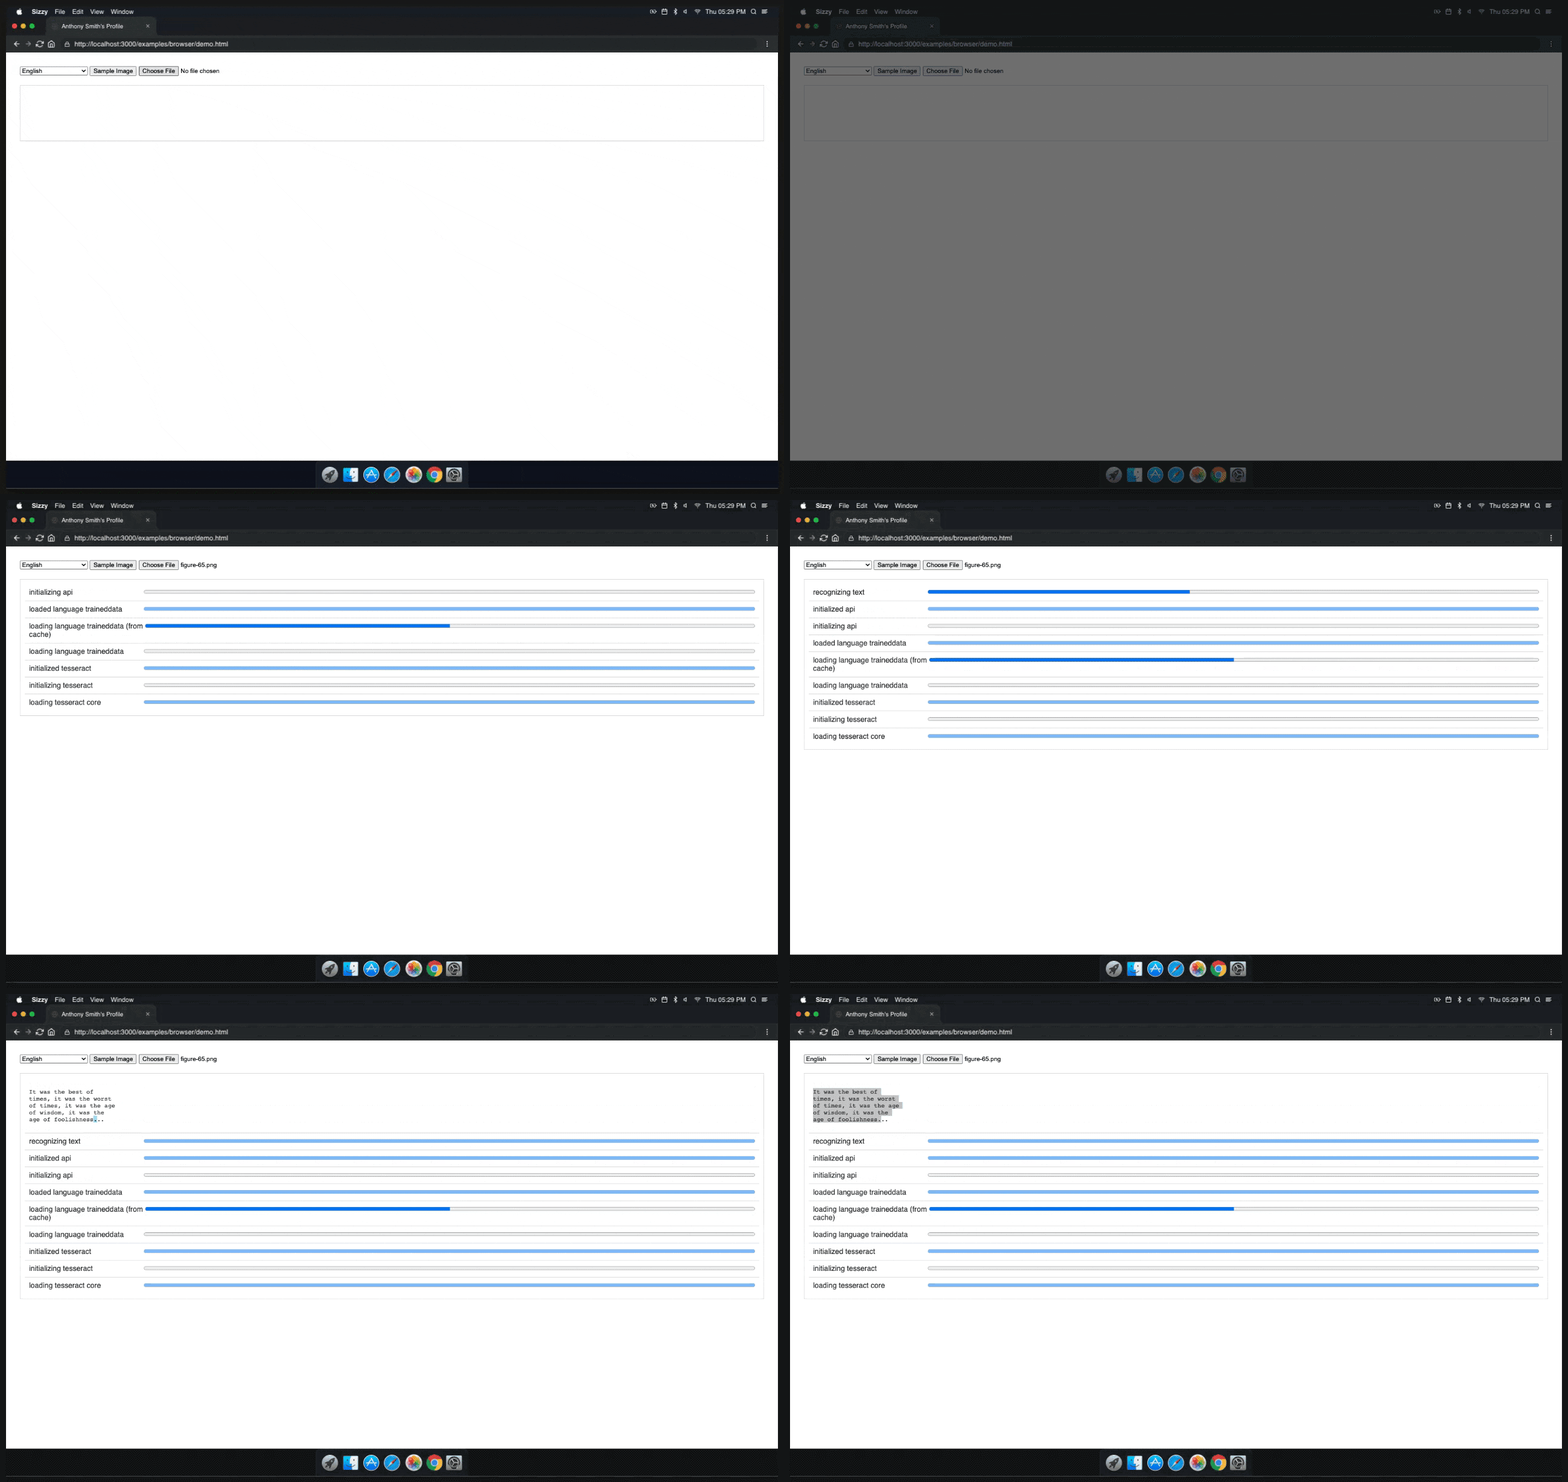
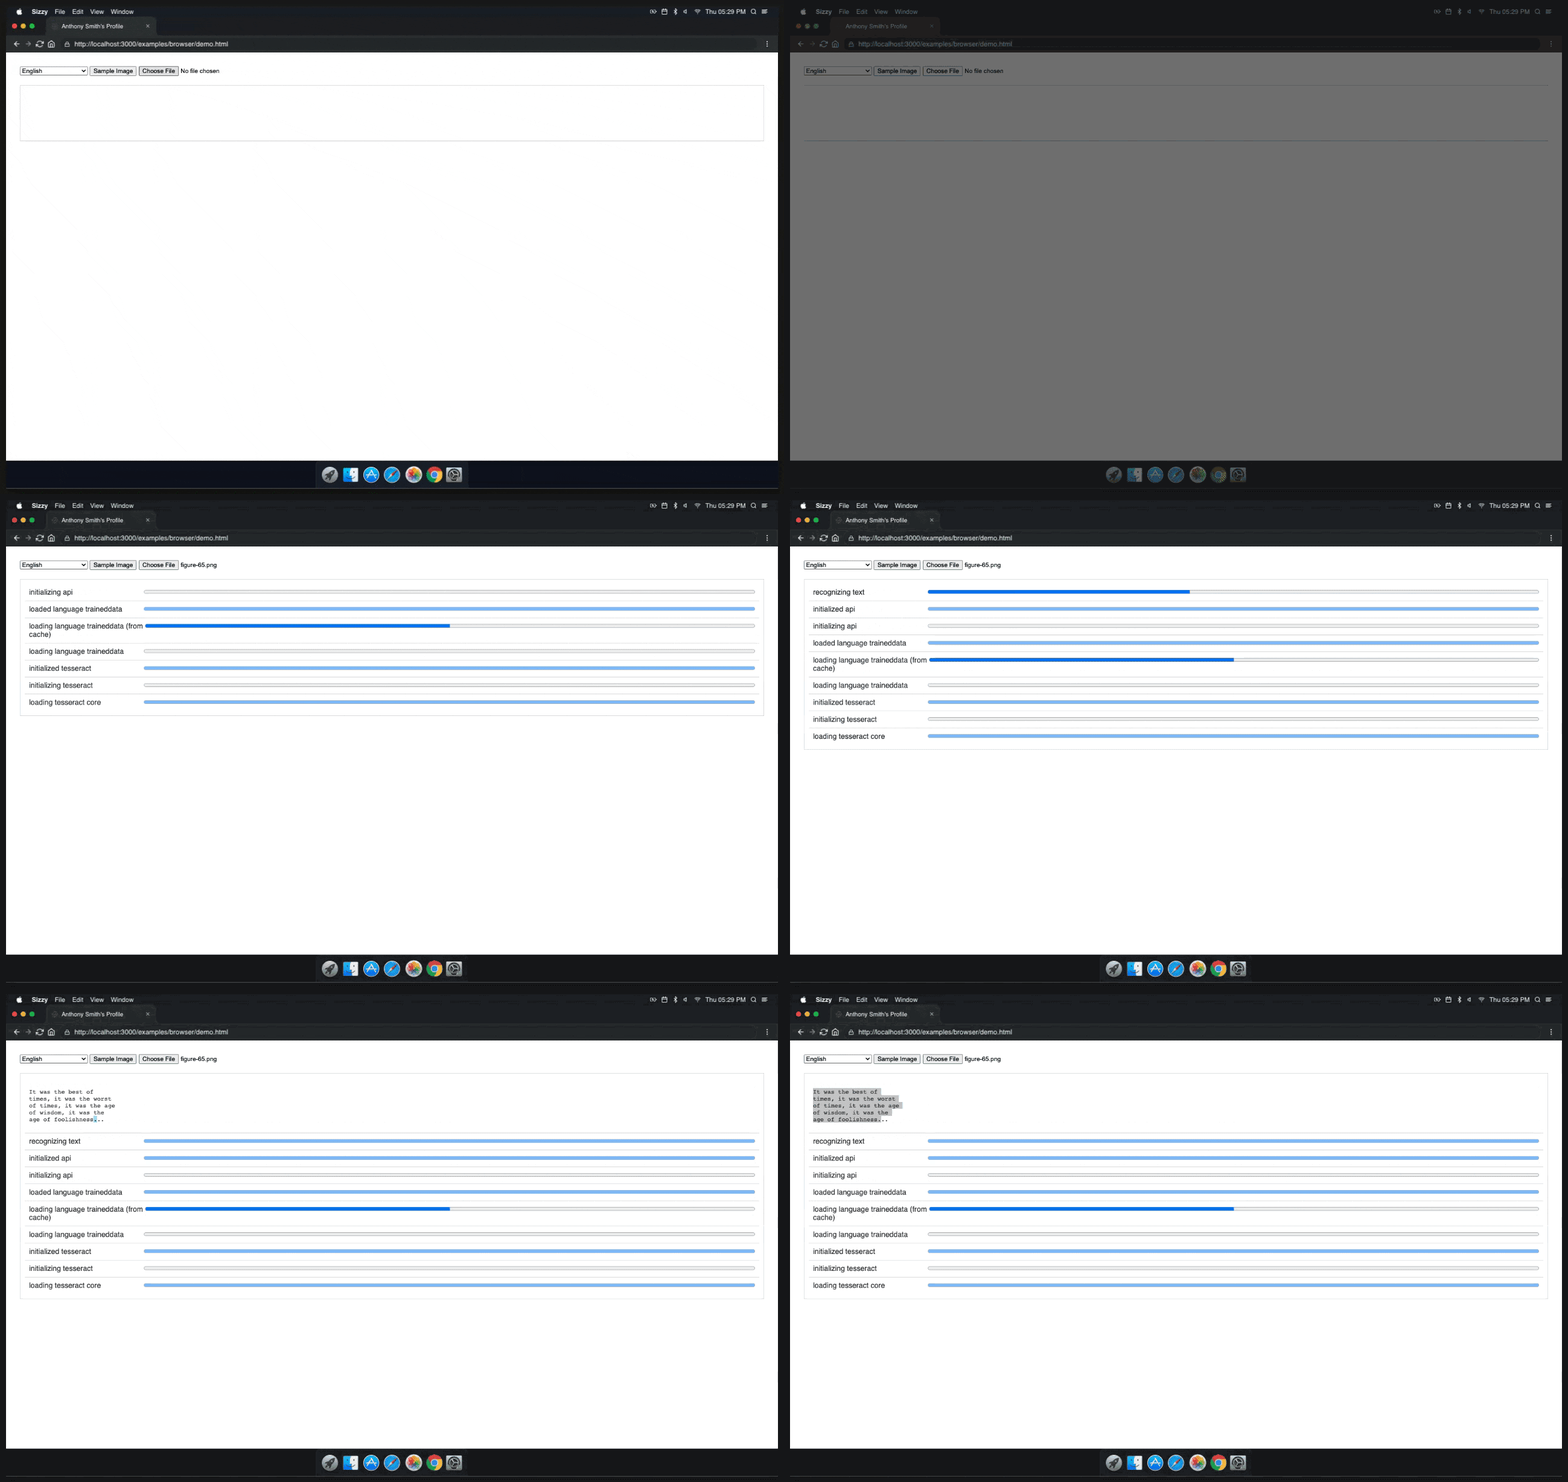
So, now we need to initialize our project and run Tesseract.js. We're going to use the TesseractWorker to achieve this. Following that, we will utilize the recognize function to convert our image into text. This function will run asynchronously, so we need to use the .then function to handle the result. After that, we will add a callback using the progress method to monitor the status and progress of the OCR operation.

const worker = new Tesseract.TesseractWorker();
worker.recognize(file, $("#langsel").val())
.progress(function(packet){
    console.info(packet)
    progressUpdate(packet)
})
.then(function(data){
    console.log(data)
    progressUpdate({ status: 'done', data: data })
})
Step 4: Handle the result
Now we can finally explore the TesseractJob object that is going to be returned and use it to display the results.
Once the result is returned it will contain a confidence level which is the text that was extracted from the image. We can now use progressUpdate to display the result.
function progressUpdate(packet){
    var log = document.getElementById('log');

    if(log.firstChild && log.firstChild.status === packet.status){
        if('progress' in packet){
            var progress = log.firstChild.querySelector('progress')
            progress.value = packet.progress
        }
    }else{
        var line = document.createElement('div');
        line.status = packet.status;
        var status = document.createElement('div')
        status.className = 'status'
        status.appendChild(document.createTextNode(packet.status))
        line.appendChild(status)

        if('progress' in packet){
            var progress = document.createElement('progress')
            progress.value = packet.progress
            progress.max = 1
            line.appendChild(progress)
        }


        if(packet.status == 'done'){
            log.innerHTML = ''
            var pre = document.createElement('pre')
            pre.appendChild(document.createTextNode(packet.data.text.replace(/\n\s*\n/g, '\n')))
            line.innerHTML = ''
            line.appendChild(pre)
            $(".fas").removeClass('fa-spinner fa-spin')
            $(".fas").addClass('fa-check')
        }

        log.insertBefore(line, log.firstChild)
    }
}
And that's it! We're now ready to use Tesseract.js to convert an image into text. Choose a custom image and watch the magic unfold.

If you enjoyed this article please give it a like. I will be adding more content in the coming weeks so be sure to subscribe to my newsletter so that you don't miss anything! Thanks for stopping by!
