Using the FedEX® Track API to obtain real-time tracking information for shipments
Did you know that you can connect to the FedEX® Track API and obtain real-time tracking information for FedEX® shipments?
In this article, you will be learning exactly how to do just that by utilizing the FedEX® Track API! First, you will create a FedEX® Developer Account on the fedex.com website and then you will be able to use the API to track your shipments on-demand and get real-time updates on your shipments. From there, you will be able to integrate the FedEx API into your own application.
We will be building a small application that pulls in the FedEX® API and displays the status of a shipment on the page by tracking number.
Initial Steps
We will be implementing the following steps to successfully connect to the FedEX® API:
- Create an account on the Fed Ex Developer Portal
- Retrieve FedEX® Bearer token from Fed Ex Auth API
- Use the Bearer token to make API calls
- Head over to tracking API and copy the Sandbox server url to use as your end point
- Copy bearer token to Thunder Client/Postman
- Add JSON data to body of request using the JS Fetch api
- Submit request and read data
- Display the data in table
How to get started
The first thing we need to do is head over to the Fed Ex Developer Portal and create an account.
We can do that by going to the following link: developer.fedex.com/signup
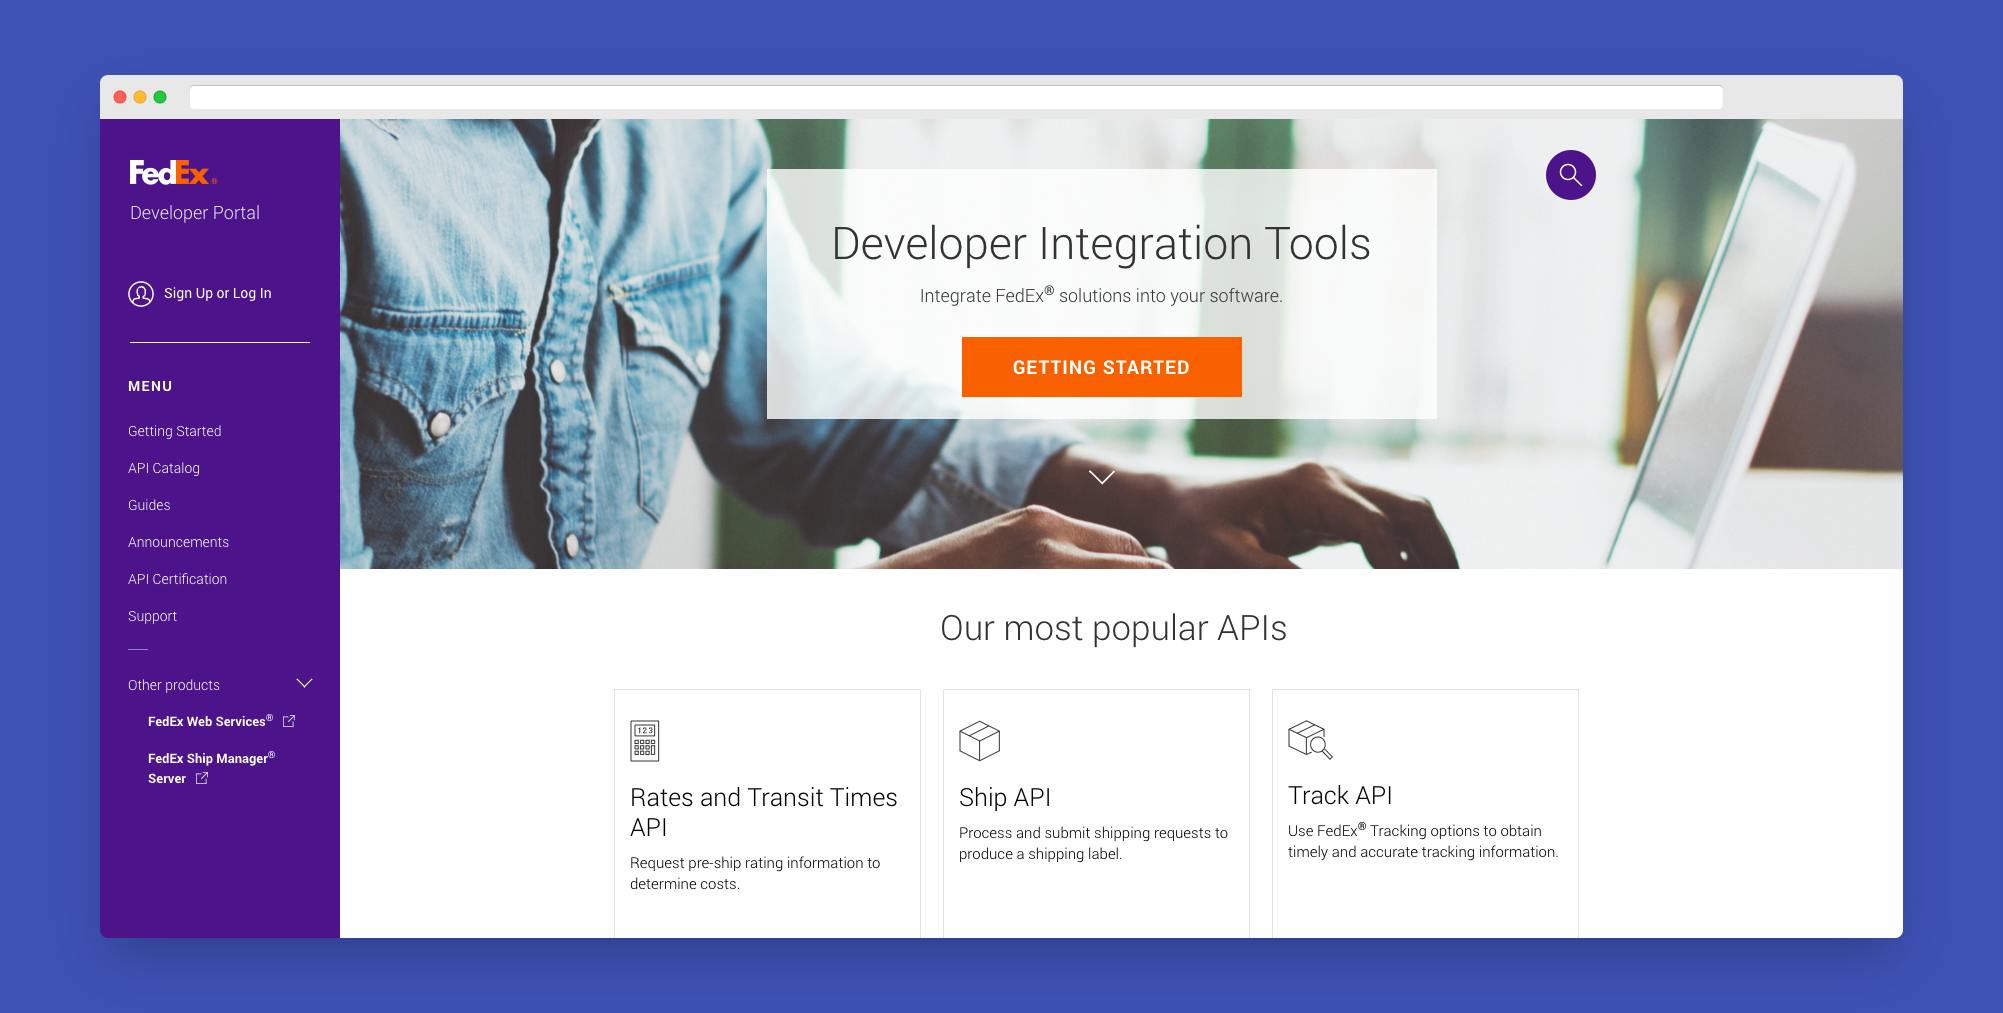
From here we need to create an account and then we need to retrieve the Bearer token to authenticate our API calls. Click on the sign-up button to get started.
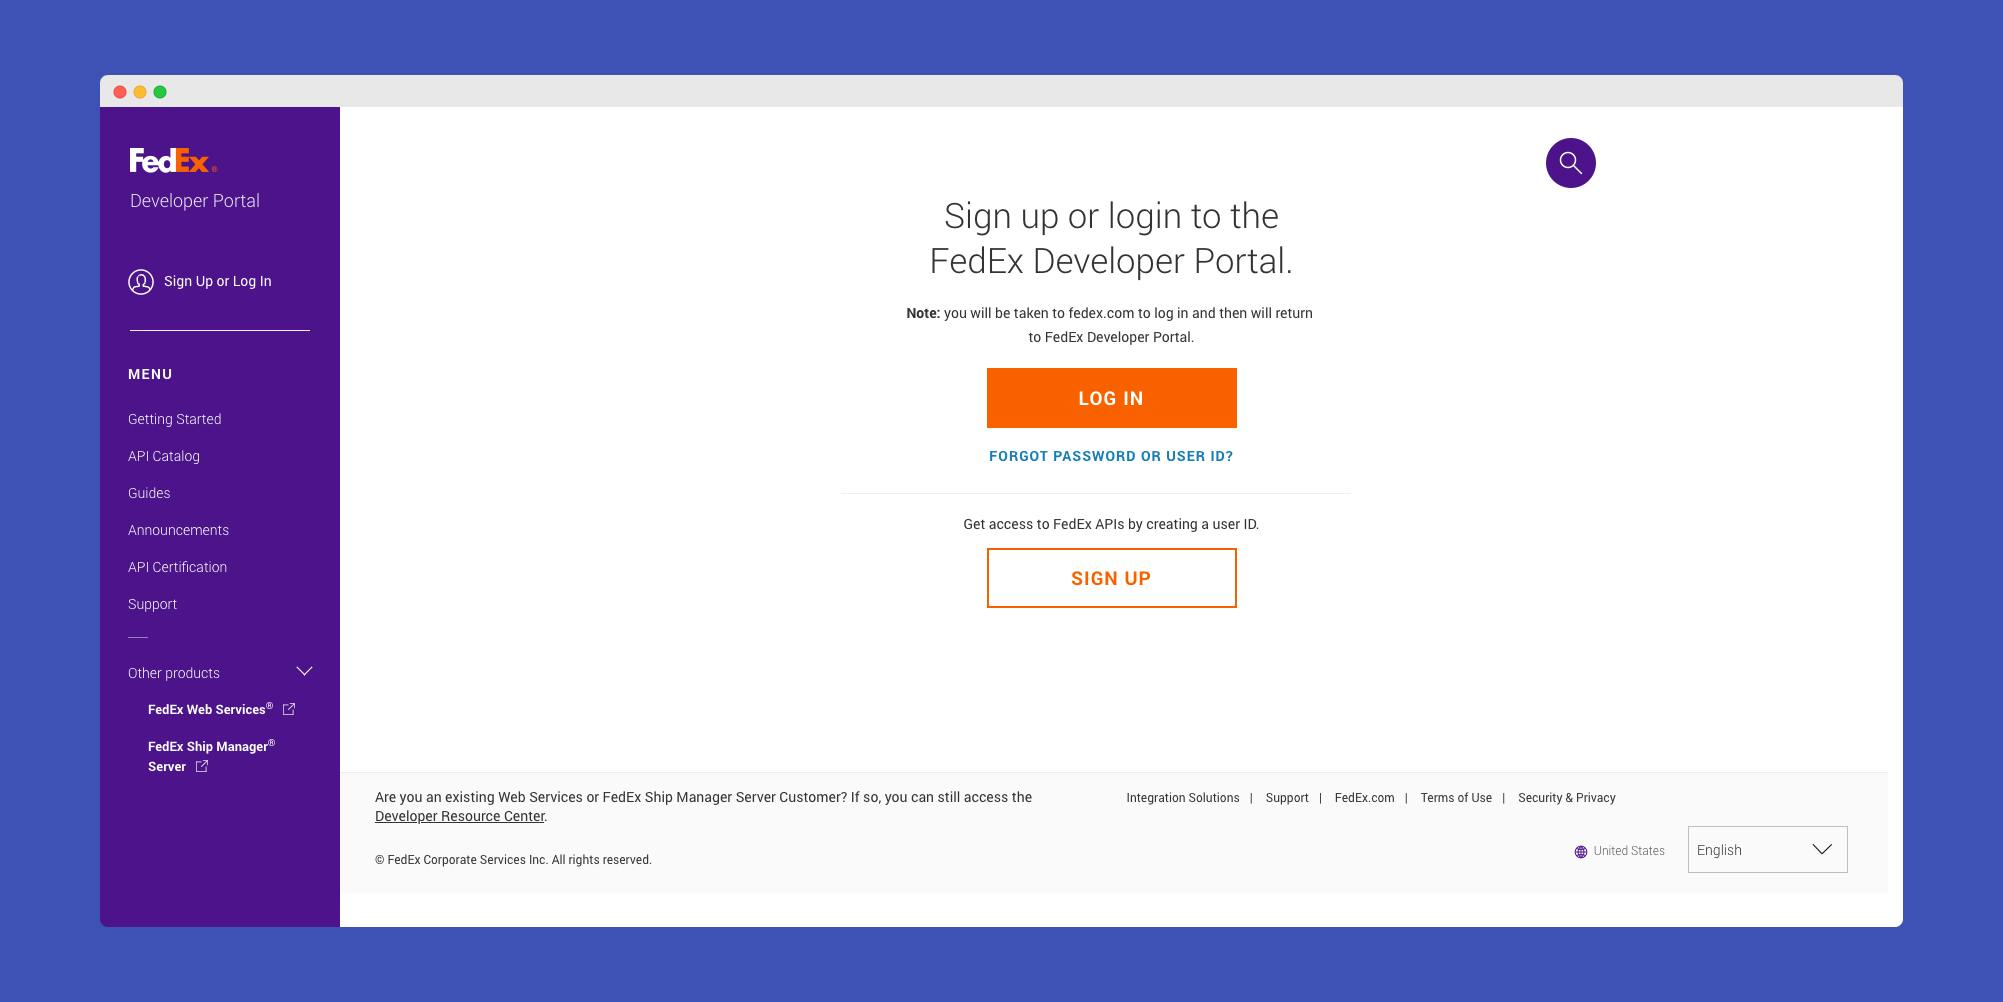
Fill in all the required information and then you will be able to create your account and begin integrating with FedEx API's.
- Fill out the required information and then click on the sign-up button
- Log in with your fedex.com user ID and password to begin integrating with FedEx APIs.
Next we need to create or join an organization
Either create an organization if one does not yet exist for your company or join your company’s existing organization. You can have many users associated with your organization, but you cannot have many organizations associated with one user ID.
If you create your organization, you will automatically be listed as the Admin of that organization. An Admin can invite users to join their organization, assign them to roles and projects and manage shipping accounts. To learn more about which roles are best for whom, view our Organization Administration Guidelines. To create your own organization, click on My Projects and then click the "Create Organization" button. This button will only display if you have not associated your user ID with an existing organization yet. From there, you can start to create an organization by completing the following (those that are marked with an * are optional):
- Enter an organization name.
- Enter the email addresses of any team members you would like to invite. They will automatically be added as a Viewer, associated with no projects.*
You can also join your company’s organization by completing the following:
If your company already has an organization created, ask the Admin of the organization to invite you to join. You will have 24 hours to accept their invite, but if you miss this window of time, you can ask them to resend it.
To accept the invite, you will need to either log in with your existing user ID and password or create a new one if your existing user ID is already associated with an organization.
Next, we need to create a project to get credentials
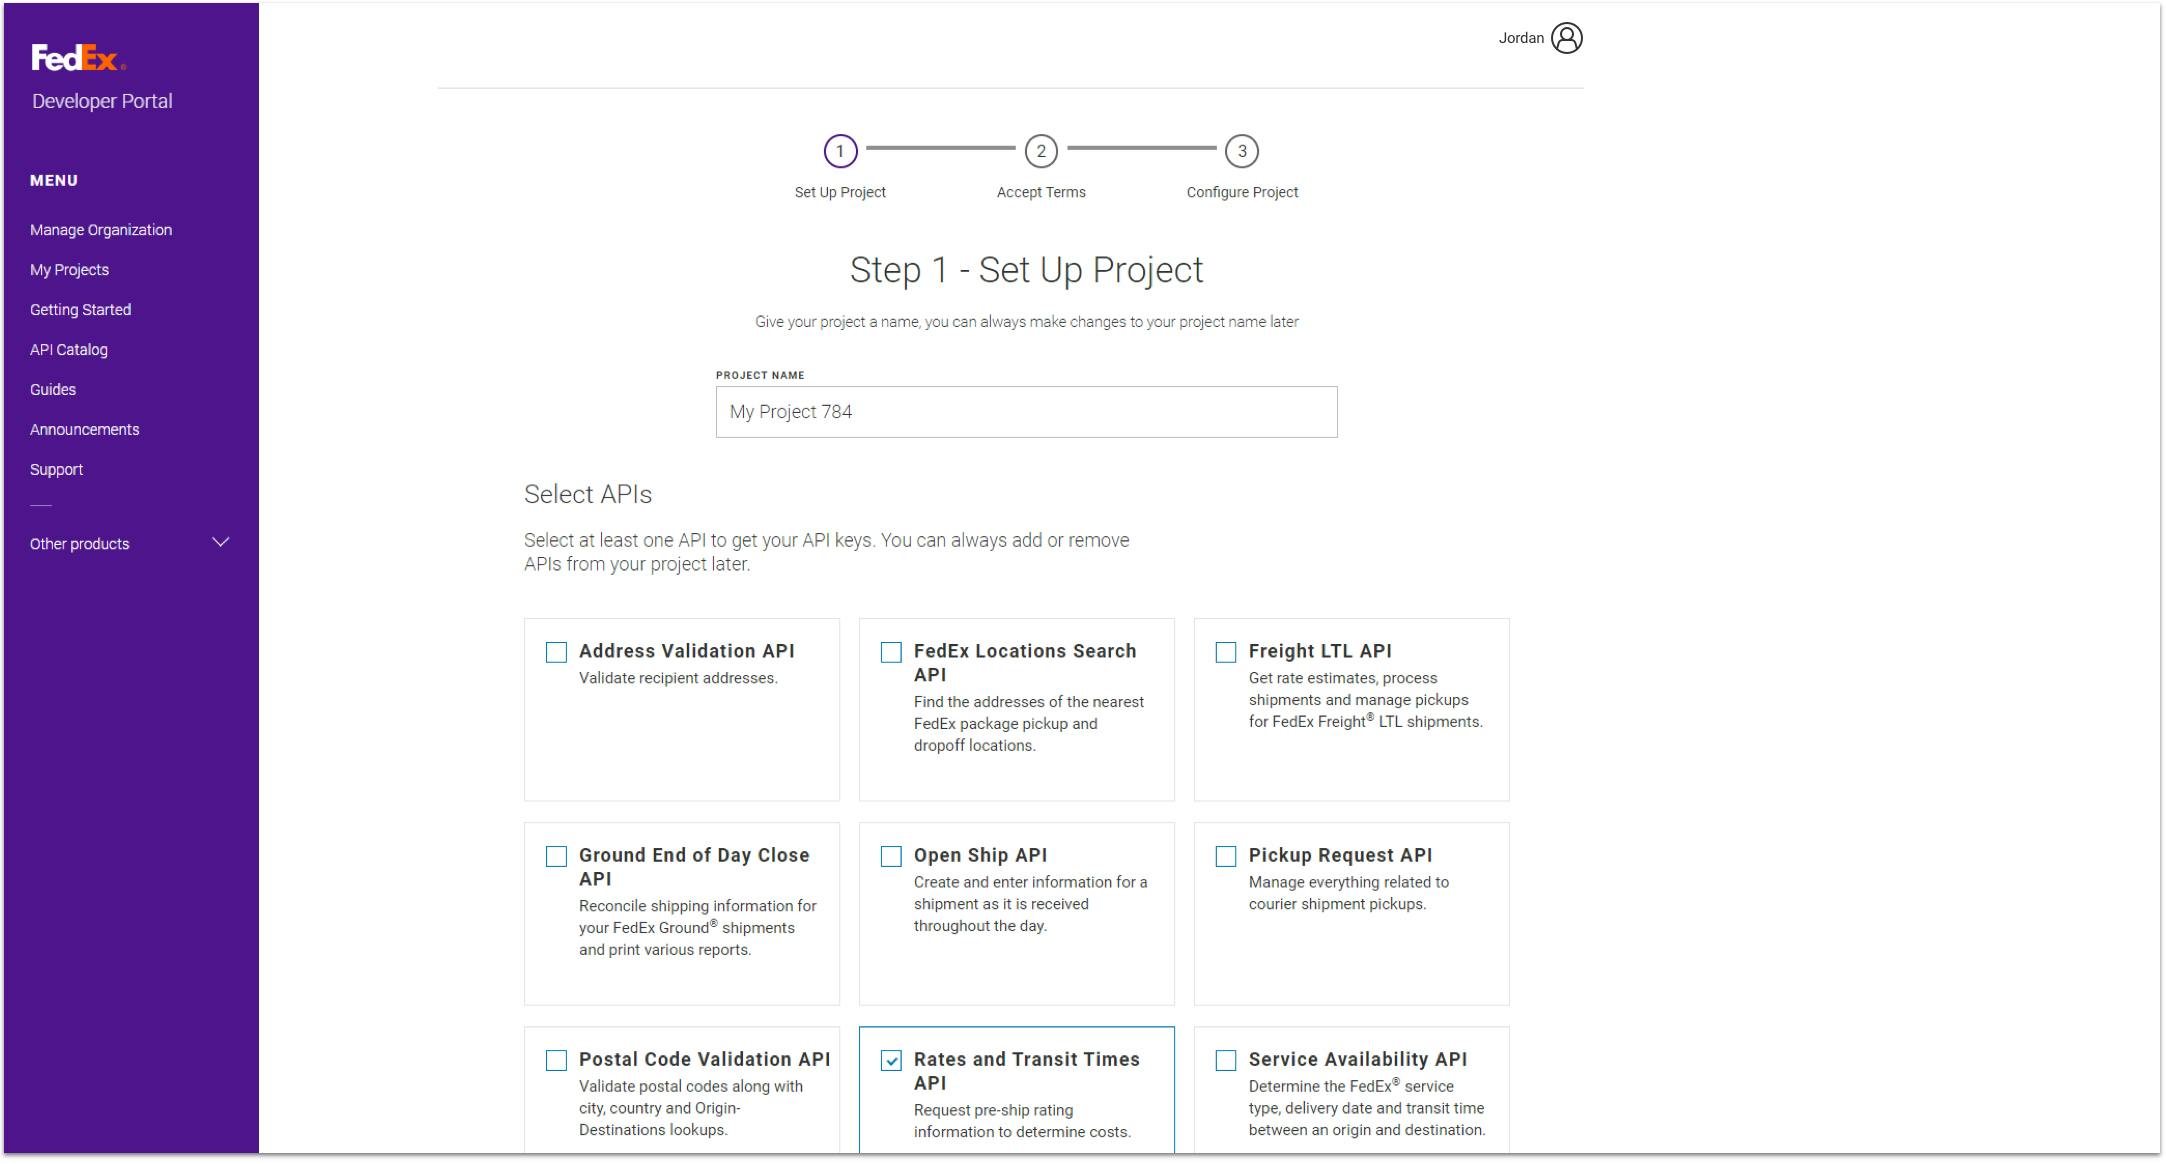
Set Up Project
- Give your project an identifiable name that's unique to your organization
- Begin by selecting at least one API to add to your project. You can always add or remove API's later.
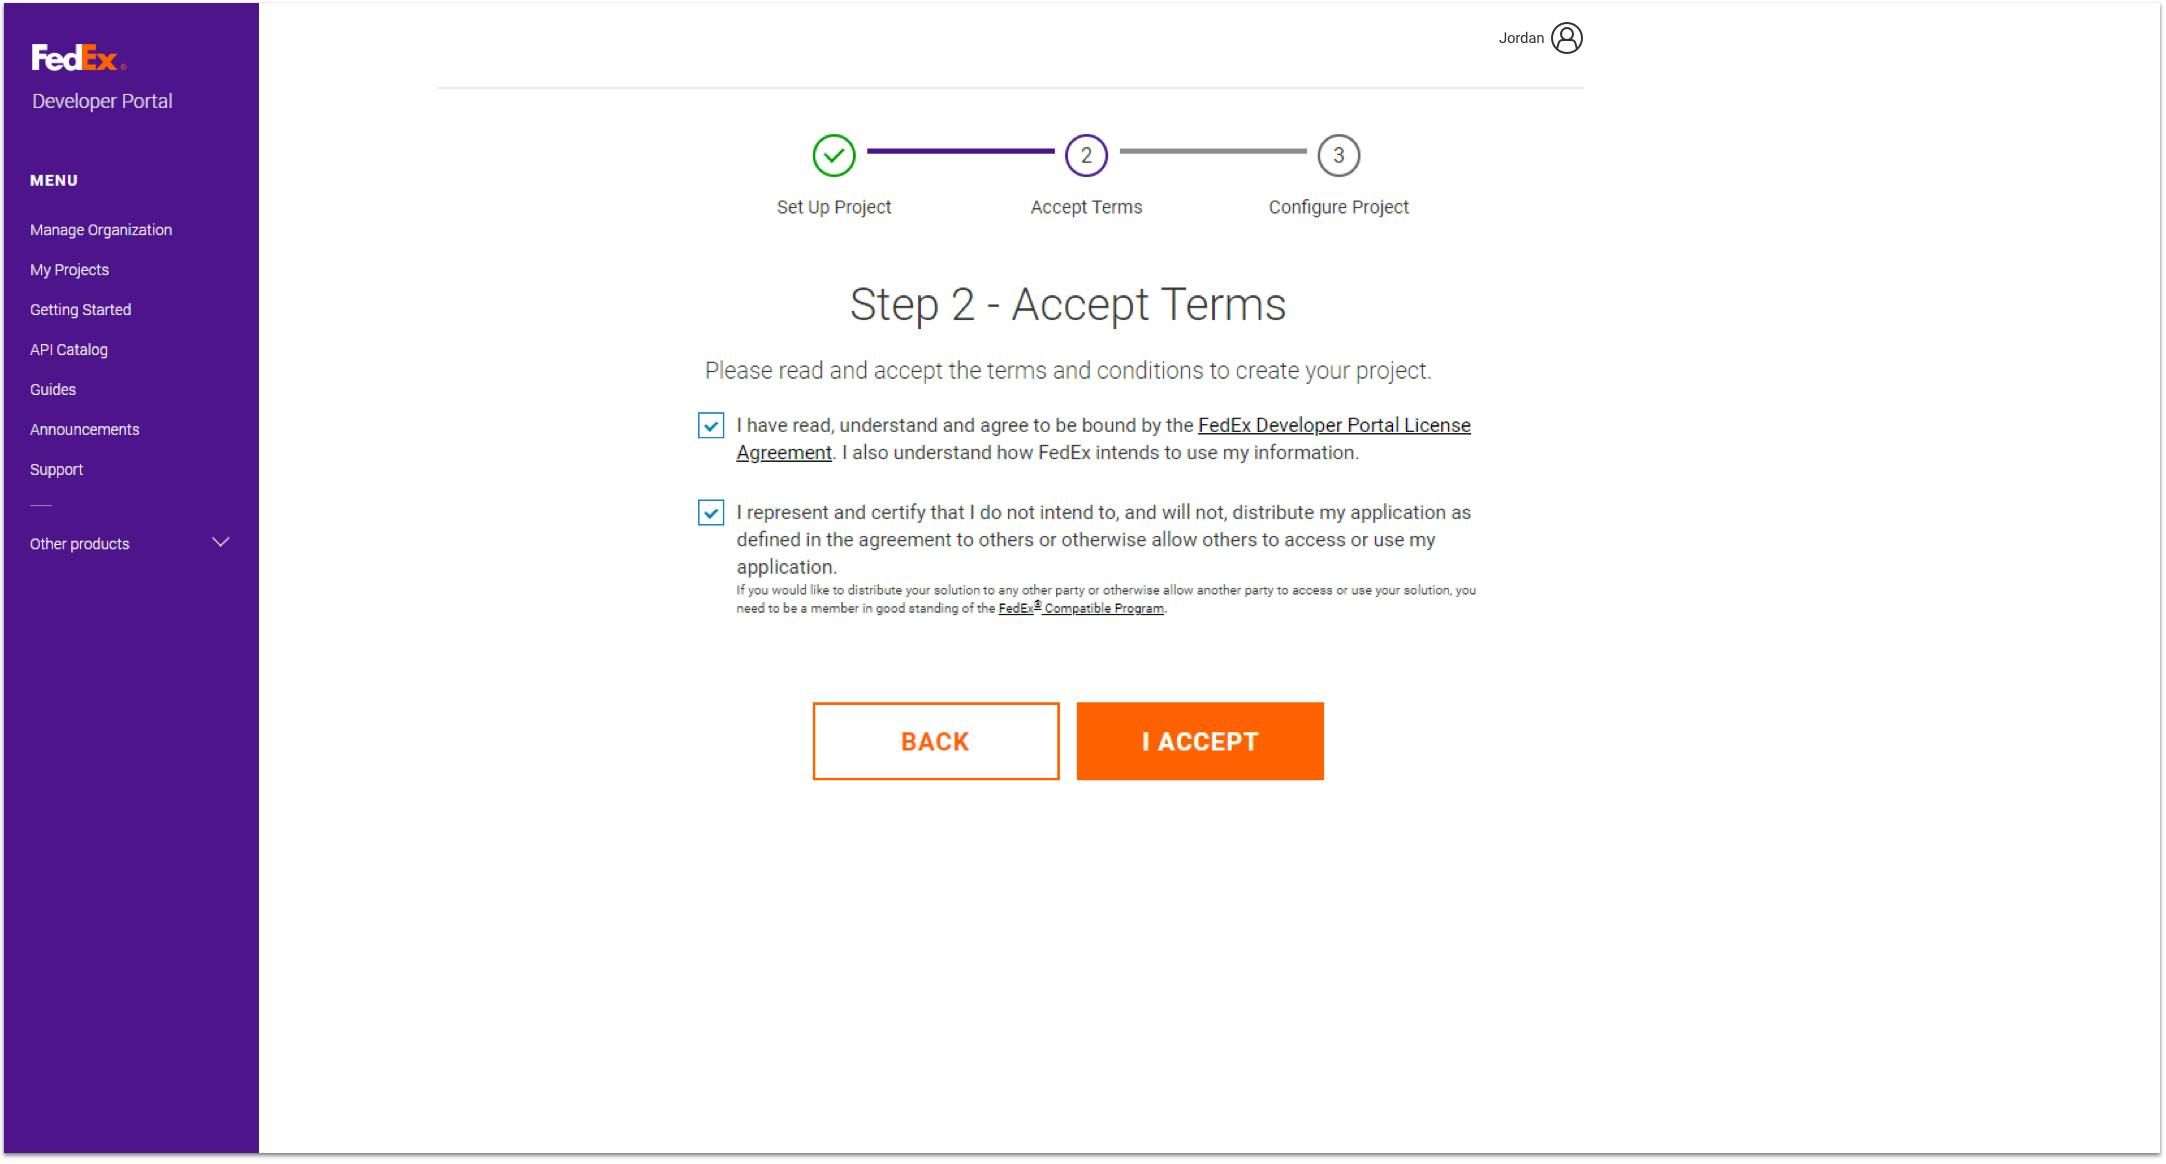
- Accept Terms
- Please read and accept the Developer Portal License Agreement and acknowledge that you do not intend to distribute your application.
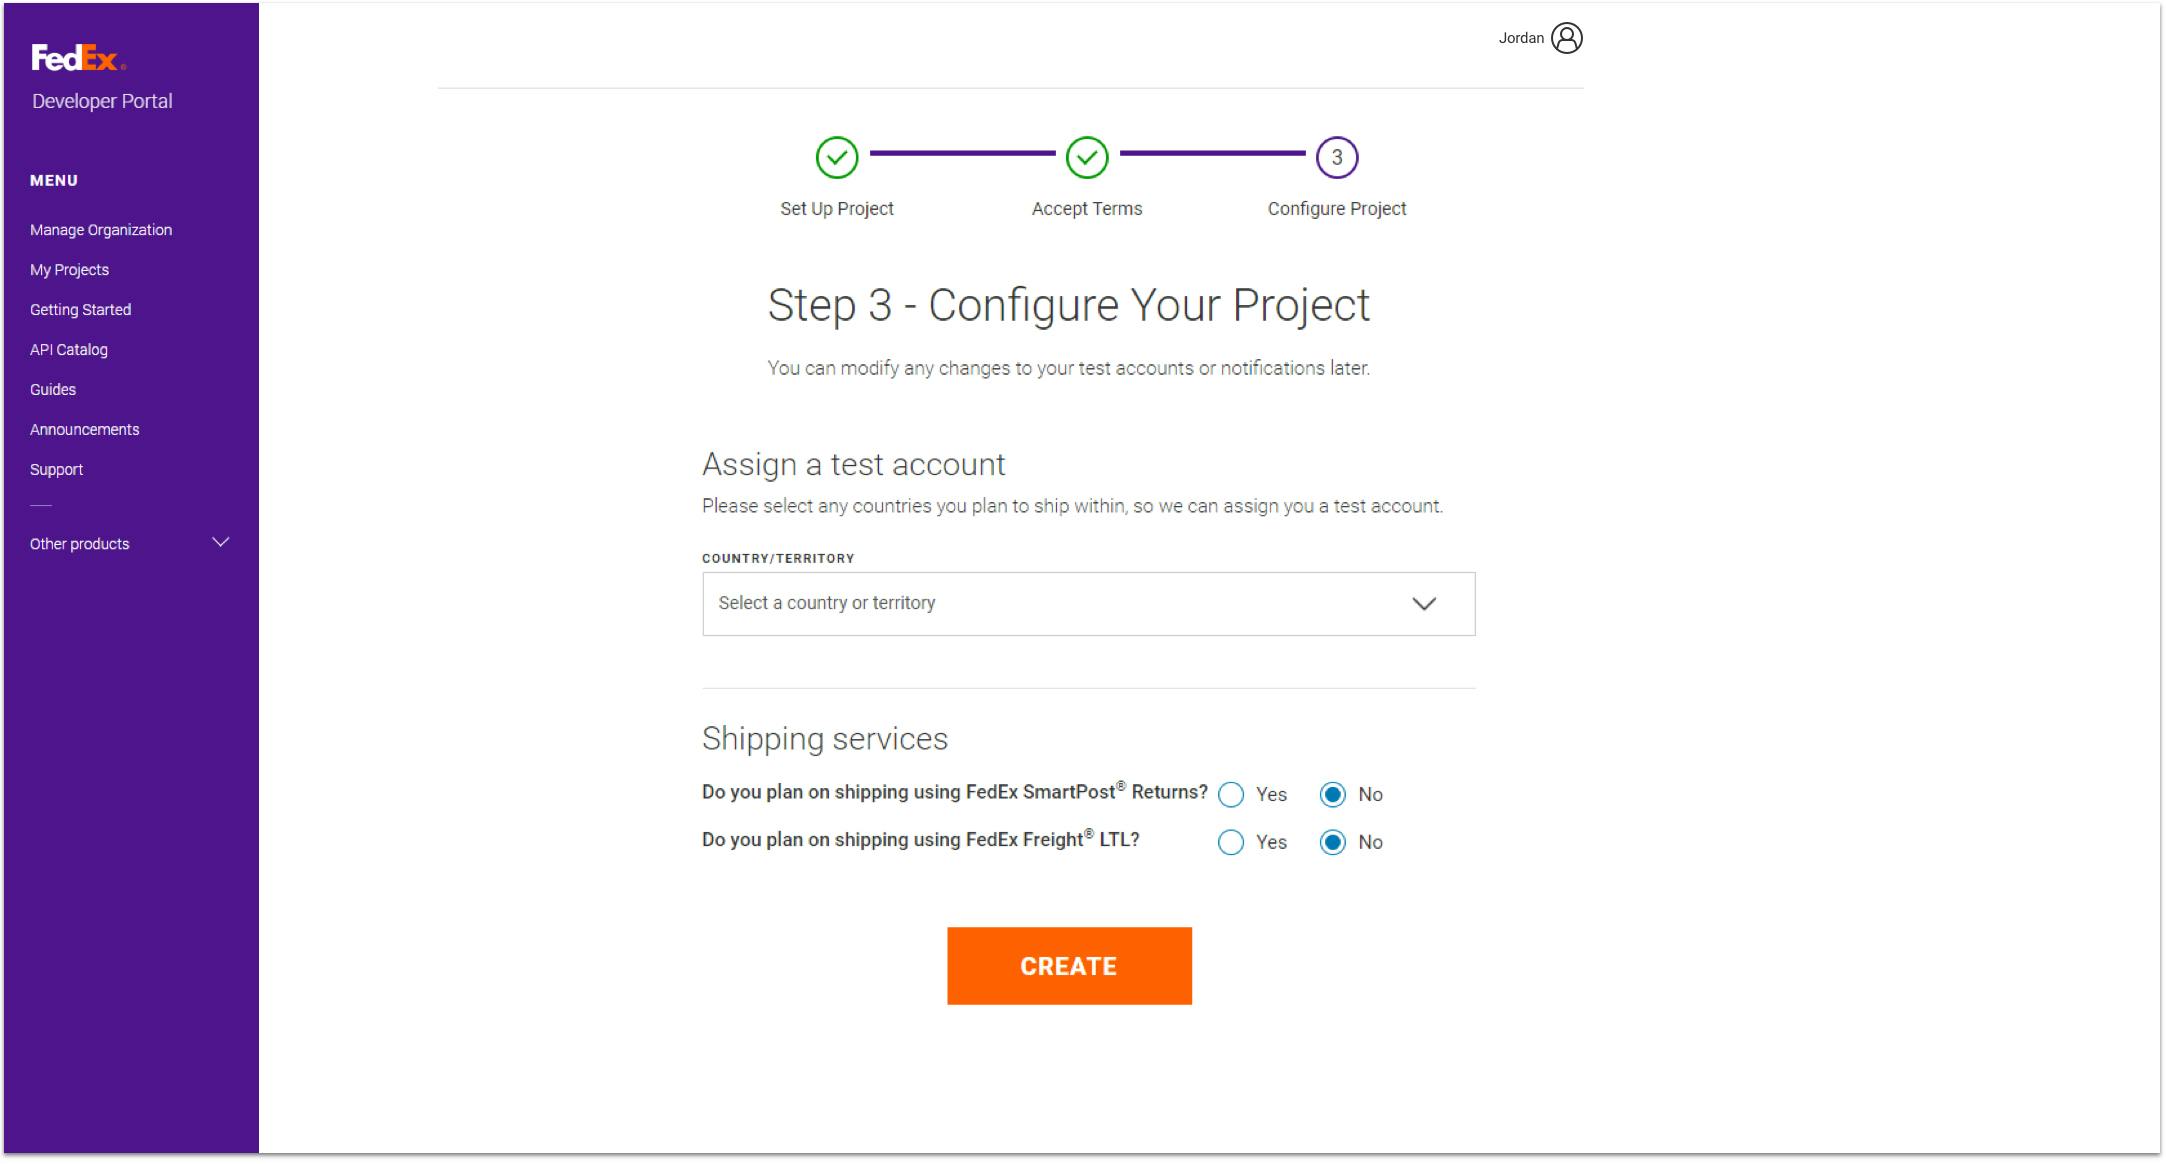
- Configure your project
- Select any countries you plan to ship within so that we can assign you a test shipping account. To test shipping packages domestically within a European country, you must have a separate test account for each country. You can always add/remove countries at a later time.*
- If you plan to use FedEx Ground® Economy Returns or FedEx Freight® LTL, select Yes.*
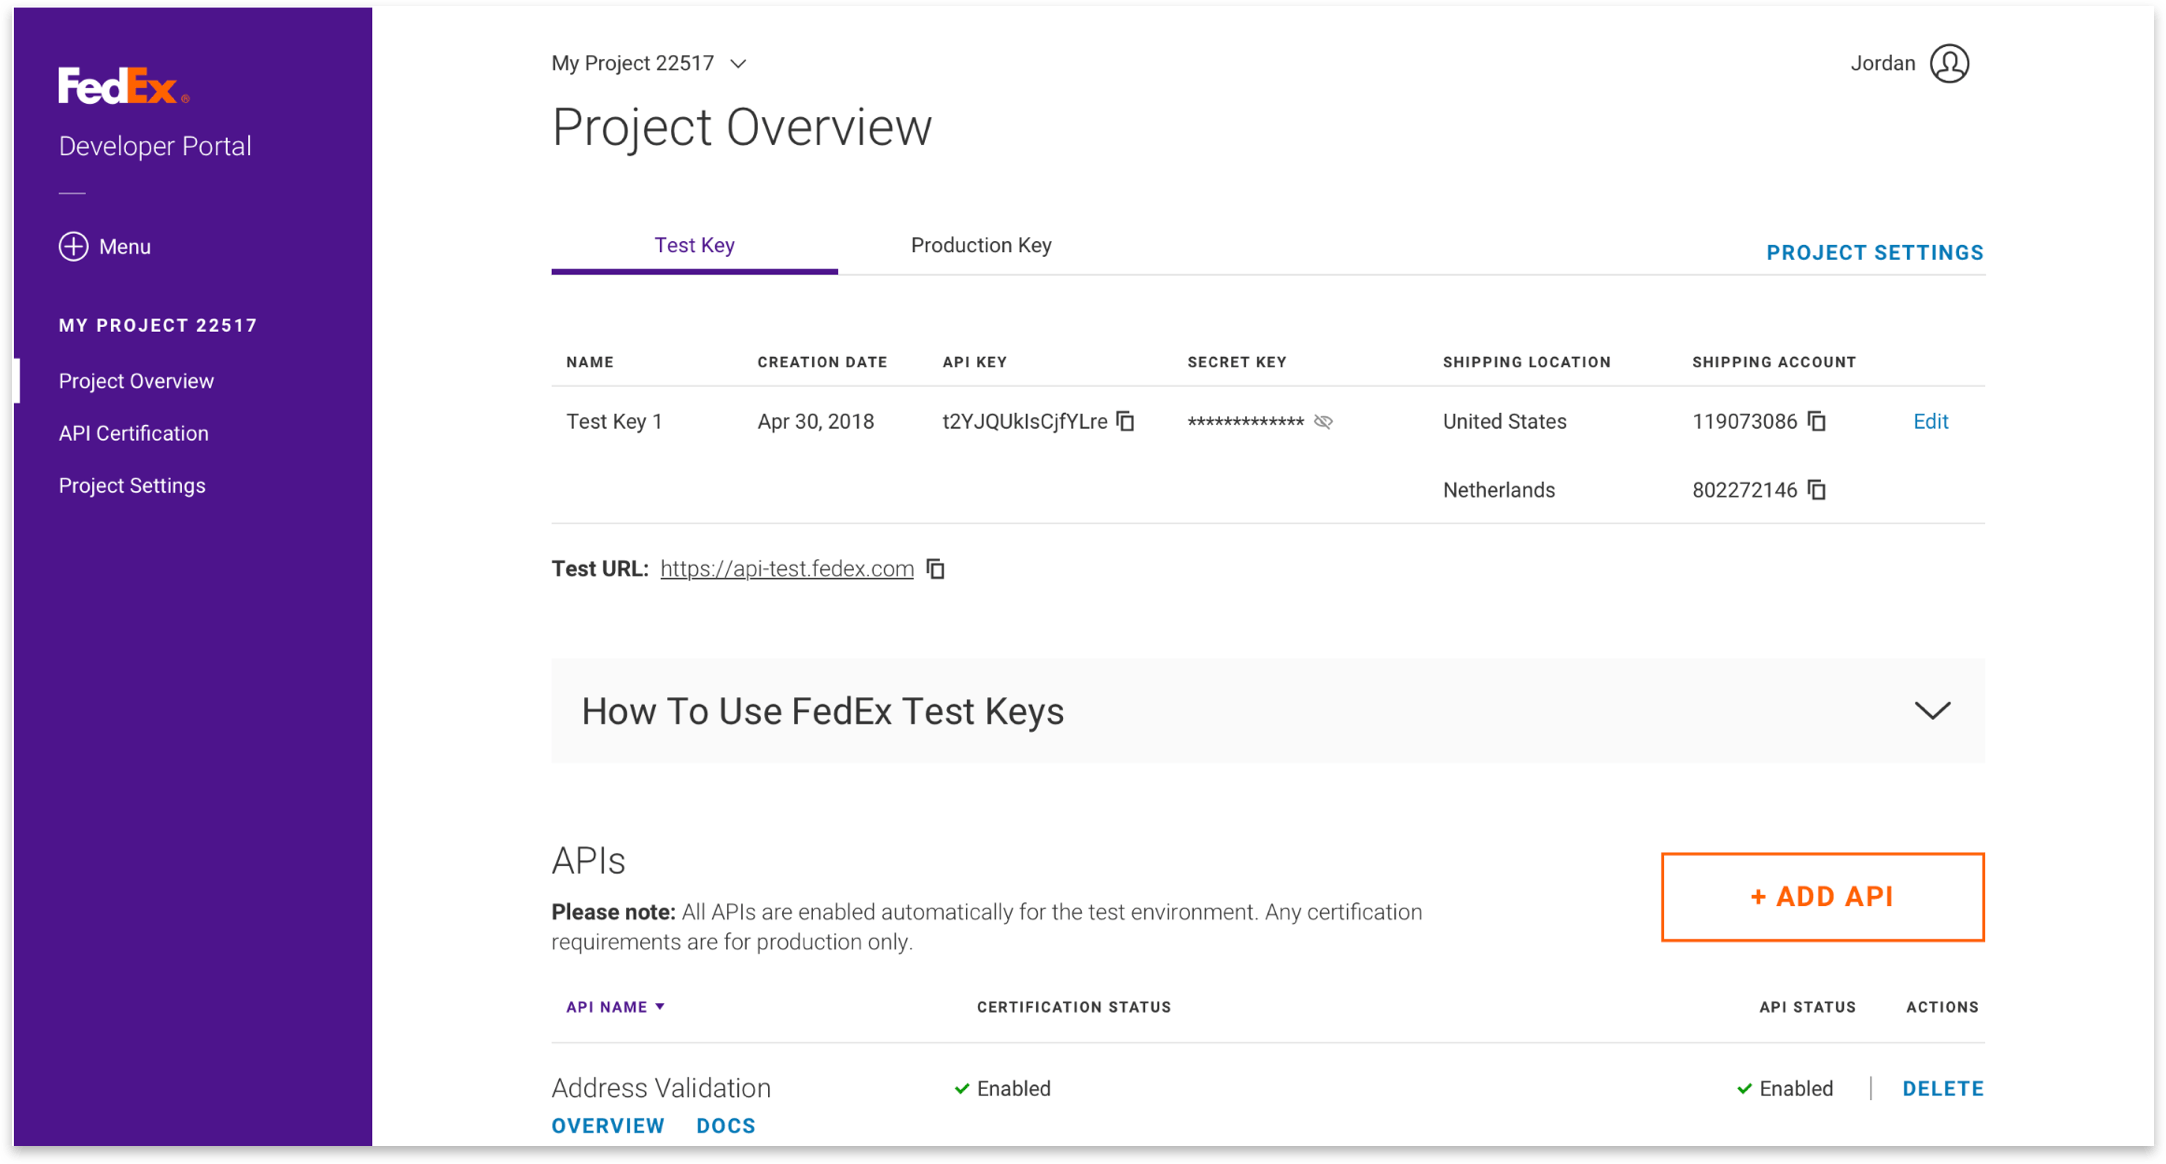
- Once you click the "Create" button, you will see a confirmation screen. Within your new project, you can now view your test credentials.
Finally, integrate with the API and begin testing
- Retrieve test credentials (API Key, Secret Key, and shipping account(s)) from the Test Key tab of the Project Overview page.
Request an OAuth access token that must be used with each API transaction. The session for the token is valid only for an hour, so you will need to programmatically code your application to refresh the token before the session expires. Refer to the API Authorization docs for more details.
Select docs for the APIs on your Test Keys page and read the business context to best understand how to use the selected API. Review example requests for the endpoint that match your desired integration.
Implement your calls to these endpoints as described in the example requests, configuring them to use your test credentials.
Verify that the received API call responses are matching those shown in the documentation.
Completely test your implementation within the FedEx test environment using test credentials and the FedEx test URIs.
Generating your bearer token
Before you can use the FedEx API, you need to generate a bearer token. We are going to generate our token from this link: Fed Ex Authorization & Bearer Token API
You will need to provide your developer account credentials to generate your bearer token in the form of a JSON object. Go ahead and scroll down the page until you see this section and copy the Sandbox Server URL:
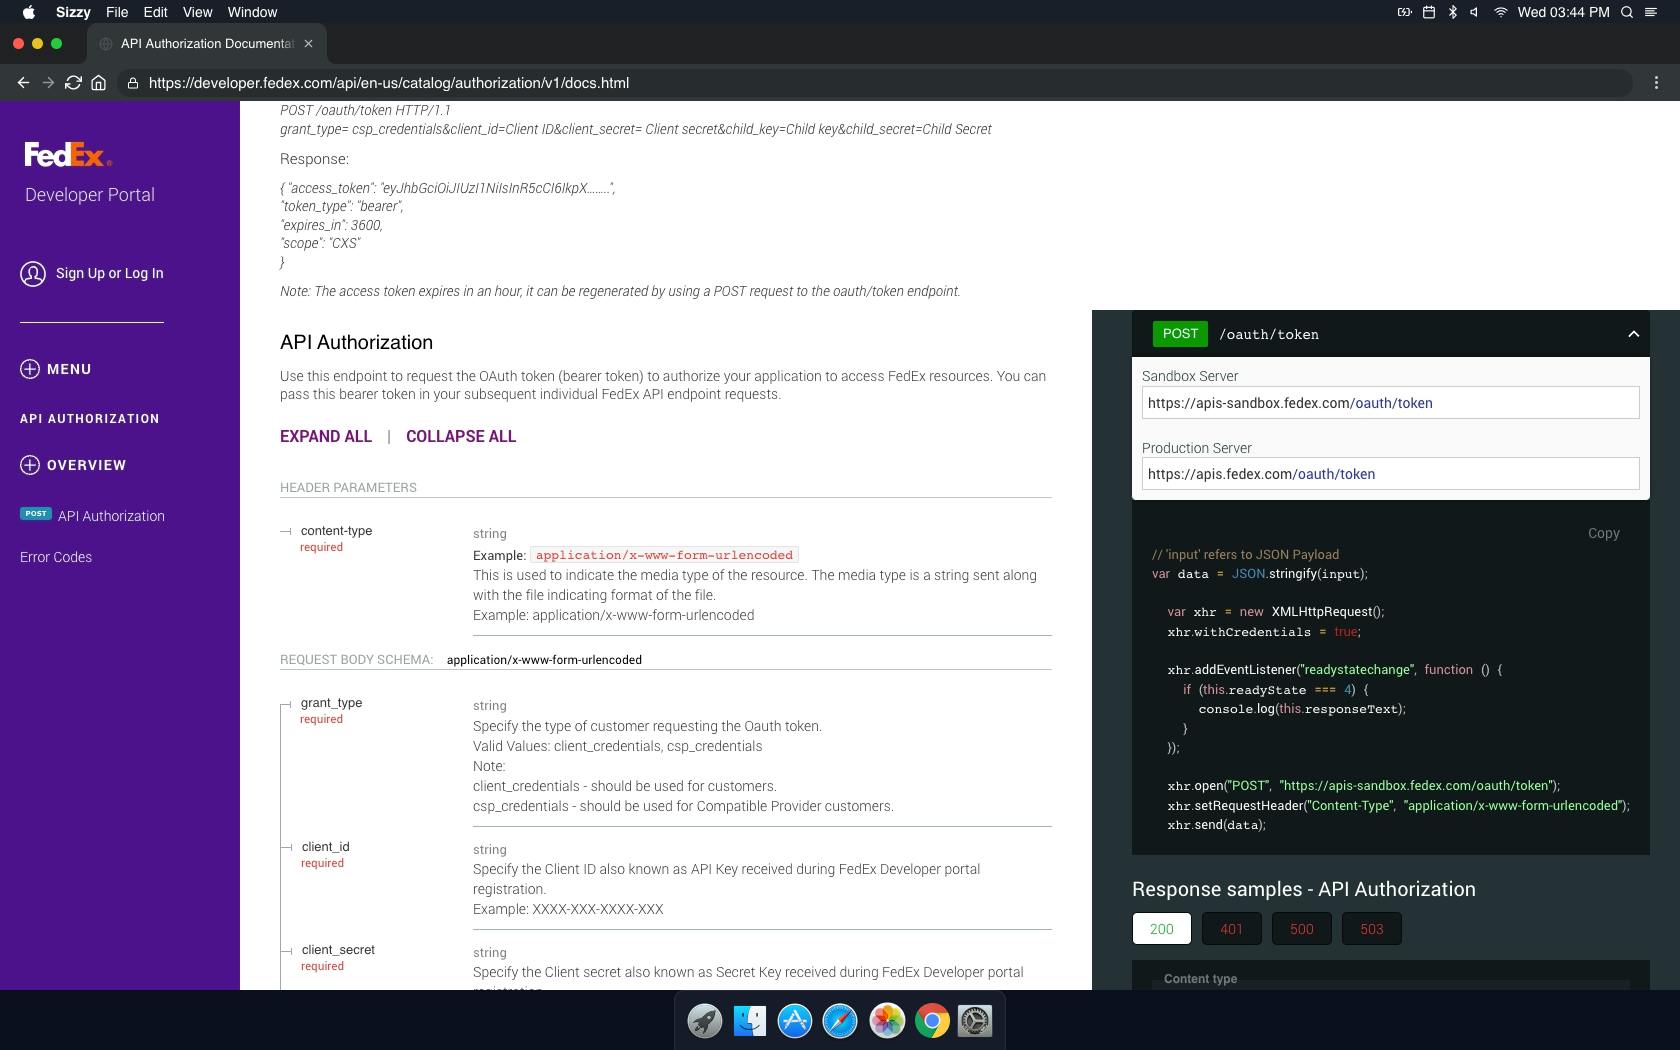
We will be making a POST request to the following endpoint and then storing our token inside local storage for later use. Open up your code editor, create a blank project with boiler plate code and then paste the following code into the body of your code:
// This is a POST request, because we need the API to generate a new token for us
    async function getRefresh() {
        // Client credentials
        var key = 'your_client_id';
        var secret = 'your_client_secret';
        await fetch('https://apis-sandbox.fedex.com/oauth/token', {
            mode: 'cors',
            method: 'POST',
            body: 'grant_type=client_credentials&client_id=' + key + '&client_secret=' + secret,
            headers: {
                'Content-Type': 'application/x-www-form-urlencoded',
                'Access-Control-Allow-Origin': '*'
            }
        }).then(function (resp) {
            // Return the response as JSON
            return resp.json();
        }).then(function (data) {
            // Log the API data
            console.log('Refresh Token', data);
            var refreshToken = data.access_token;
            // Store the token in local storage
            localStorage.setItem('token', data.access_token);
        }).catch(function (err) {
            // Log any errors
            console.log('something went wrong', err);
        });
    }
    getRefresh();
Now open up your browser and navigate to your project url and open the console. You should see the following output:

This means that we have successfully generated our bearer token and can use it as authentication. Keep in mind that this token is only valid for an hour. You will need to refresh it before it expires to continue generating data. We can do this automatically by implementing the following code:
// Refresh your API Token every hour
    var now = new Date();
    var delay = 60 * 60 * 1000; // 1 hour in msec
    var start = delay - (now.getMinutes() * 60 + now.getSeconds()) * 1000 + now.getMilliseconds();

    setTimeout(function getRefreshToken() {
        // do the operation
        getRefresh();

        // schedule the next tick
        setTimeout(getRefreshToken, delay);
    }, start);
If you ever need to refresh your token manually, you can do so by calling the getRefresh() function.
Now we can use the API to input a tracking number that we want to track
First, let's create our HTML structure:
Then we will store our token inside local storage in the browser for later use. Open up your code editor, create a blank project with boiler plate html code:
<!DOCTYPE html>
<html lang="en">
<head>
    <meta charset="UTF-8">
    <meta http-equiv="X-UA-Compatible" content="IE=edge">
    <meta name="viewport" content="width=device-width, initial-scale=1.0">
    <title>Fed Ex Shipment Tracker</title>
</head>
<body>
    <script>
        // JS Code will go here in next steps
    </script>
</body>
</html>
Next, let's create our table to store our API data. We are going to create a table with the following columns:
- Tracking Number
- Status
- Date
- Service Details
- Location
These columns will be populated by the API response:
  <div class="container pt-4">
    <div class="row">
        <div class="col-md-12">
            <div class="card">
                <div class="card-header">
                    <h2>Fed Ex Shipment Tracker</h2>
                </div>
                <div class="card-body">
                    <form>
                        <div class="form-group">
                            <label for="tracking_number">Tracking Number</label>
                            <input type="text" class="form-control" id="nameField" placeholder="123456789012">
                            <br>
                            <button class="btn btn-primary button-primary" type="submit" value="Track">Track</button>
                        </div>
                    </form>
                </div>
            </div>
        </div>
    </div>
</div>
<br>

<div class="container pt-4">
    <div class="row">
        <div class="col-md-12">
            <div class="card">
                <div class="card-header">
                    <h2>Tracking Details</h2>
                </div>
                <div class="card-body">
                    <div class="table-responsive">
                        <table class="table table-striped">
                            <thead>
                                <tr>
                                    <th>Tracking Number</th>
                                    <th>Status</th>
                                    <th>Date</th>
                                    <th>Service Details</th>
                                    <th>Location</th>
                                </tr>
                            </thead>
                            <tbody>
                                <tr>
                                    <td id="tracking"></td>
                                    <td id="status"></td>
                                    <td id="date"></td>
                                    <td id="serviceDetails"></td>
                                    <td id="city"></td>
                                </tr>
                            </tbody>
                        </table>
                    </div>
                </div>
            </div>
        </div>
    </div>
</div>
We will be making a POST request to the sandbox server endpoint: apis-sandbox.fedex.com/track/v1/trackingnum..
Now we are going to create our POST request. We will need to add the following code to our script tags so that we can send the form data to the API:
// Send form data to Fed EX API
    const url = "https://apis-sandbox.fedex.com/track/v1/trackingnumbers";
    const formEl = document.querySelector("form");
    formEl.addEventListener("submit", async (e) => {
        e.preventDefault();
        const formData = new FormData(formEl);
        const formDataSerialized = Object.fromEntries(formData);
        const jsonObject = {};
        try {
            const response = await fetch(url, {
                mode: 'cors',
                method: "POST",
                headers: {
                    "Content-Type": "application/json",
                    'Authorization': 'bearer ' + window.localStorage.getItem("token"),
                    'Access-Control-Allow-Origin': '*',
                    'Content-Type': 'application/json',
                    'X-locale': 'en_US',
                },
                body: JSON.stringify({
                    "trackingInfo": [{
                        "trackingNumberInfo": {
                          // Here we take the value from the form
                            "trackingNumber": `${nameField.value}`,
                        }
                    }],
                    "includeDetailedScans": true
                }),
            });
            const json = await response.json();
            // Now we need to restructure the data from the API response and save the data into variables we can use.
            const {
                output,
                trackingNumber = output['completeTrackResults'][0].trackingNumber,
                trackResults = output['completeTrackResults'][0].trackResults,
                latestStatusDetail = output['completeTrackResults'][0].trackResults[0]['latestStatusDetail']
                [
                    'delayDetail'
                ].status,
                datesAndTimes = output['completeTrackResults'][0].trackResults[0]['dateAndTimes'][0][
                    'dateTime'
                ],
                city = output['completeTrackResults'][0].trackResults[0][
                    'latestStatusDetail'
                ]['scanLocation']['city'],
                state = output['completeTrackResults'][0].trackResults[0][
                    'latestStatusDetail'
                ]['scanLocation']['stateOrProvinceCode'],
                serviceDetails = output['completeTrackResults'][0].trackResults[0][
                    'serviceDetail'
                ]['description'],
            } = json;
            document.querySelector('#tracking').innerHTML = `<td>${trackingNumber}</td>`;
            document.querySelector('#status').innerHTML = `<td>${latestStatusDetail}</td>`;
            document.querySelector('#serviceDetails').innerHTML = `<td>${serviceDetails}</td>`;
            document.querySelector('#date').innerHTML = `<td>${datesAndTimes}</td>`;
            document.querySelector('#city').innerHTML = `<td>${city}, ${state}</td>`;
            console.log(json);
        } catch (e) {
            console.error(e);
            alert("there as an error");
        }
    });
Now we can view the API response in the console. Open up the console and you should see the following object:
    {
        "output": {
        "completeTrackResults": [
            {
            "trackingNumber": "123456789012",
            "trackResults": [
                {
                "latestStatusDetail": {
                    "status": "Delivered",
                    "statusType": "DELIVERED",
                    "statusDateTime": "2020-04-01T00:00:00.000Z",
                    "scanLocation": {
                    "city": "Beverly Hills",
                    "stateOrProvinceCode": "CA",
                    "countryCode": "US"
                    }
                },
                "dateAndTimes": [
                    {
                    "dateTime": "2020-04-01T00:00:00.000Z",
                    "dateTimeType": "DELIVERY"
                    }
                ],
                "serviceDetail": {
                    "description": "FedEx Ground"
                }
                }
            ]
            }
        ]
        }
    }
Finally we can test our application
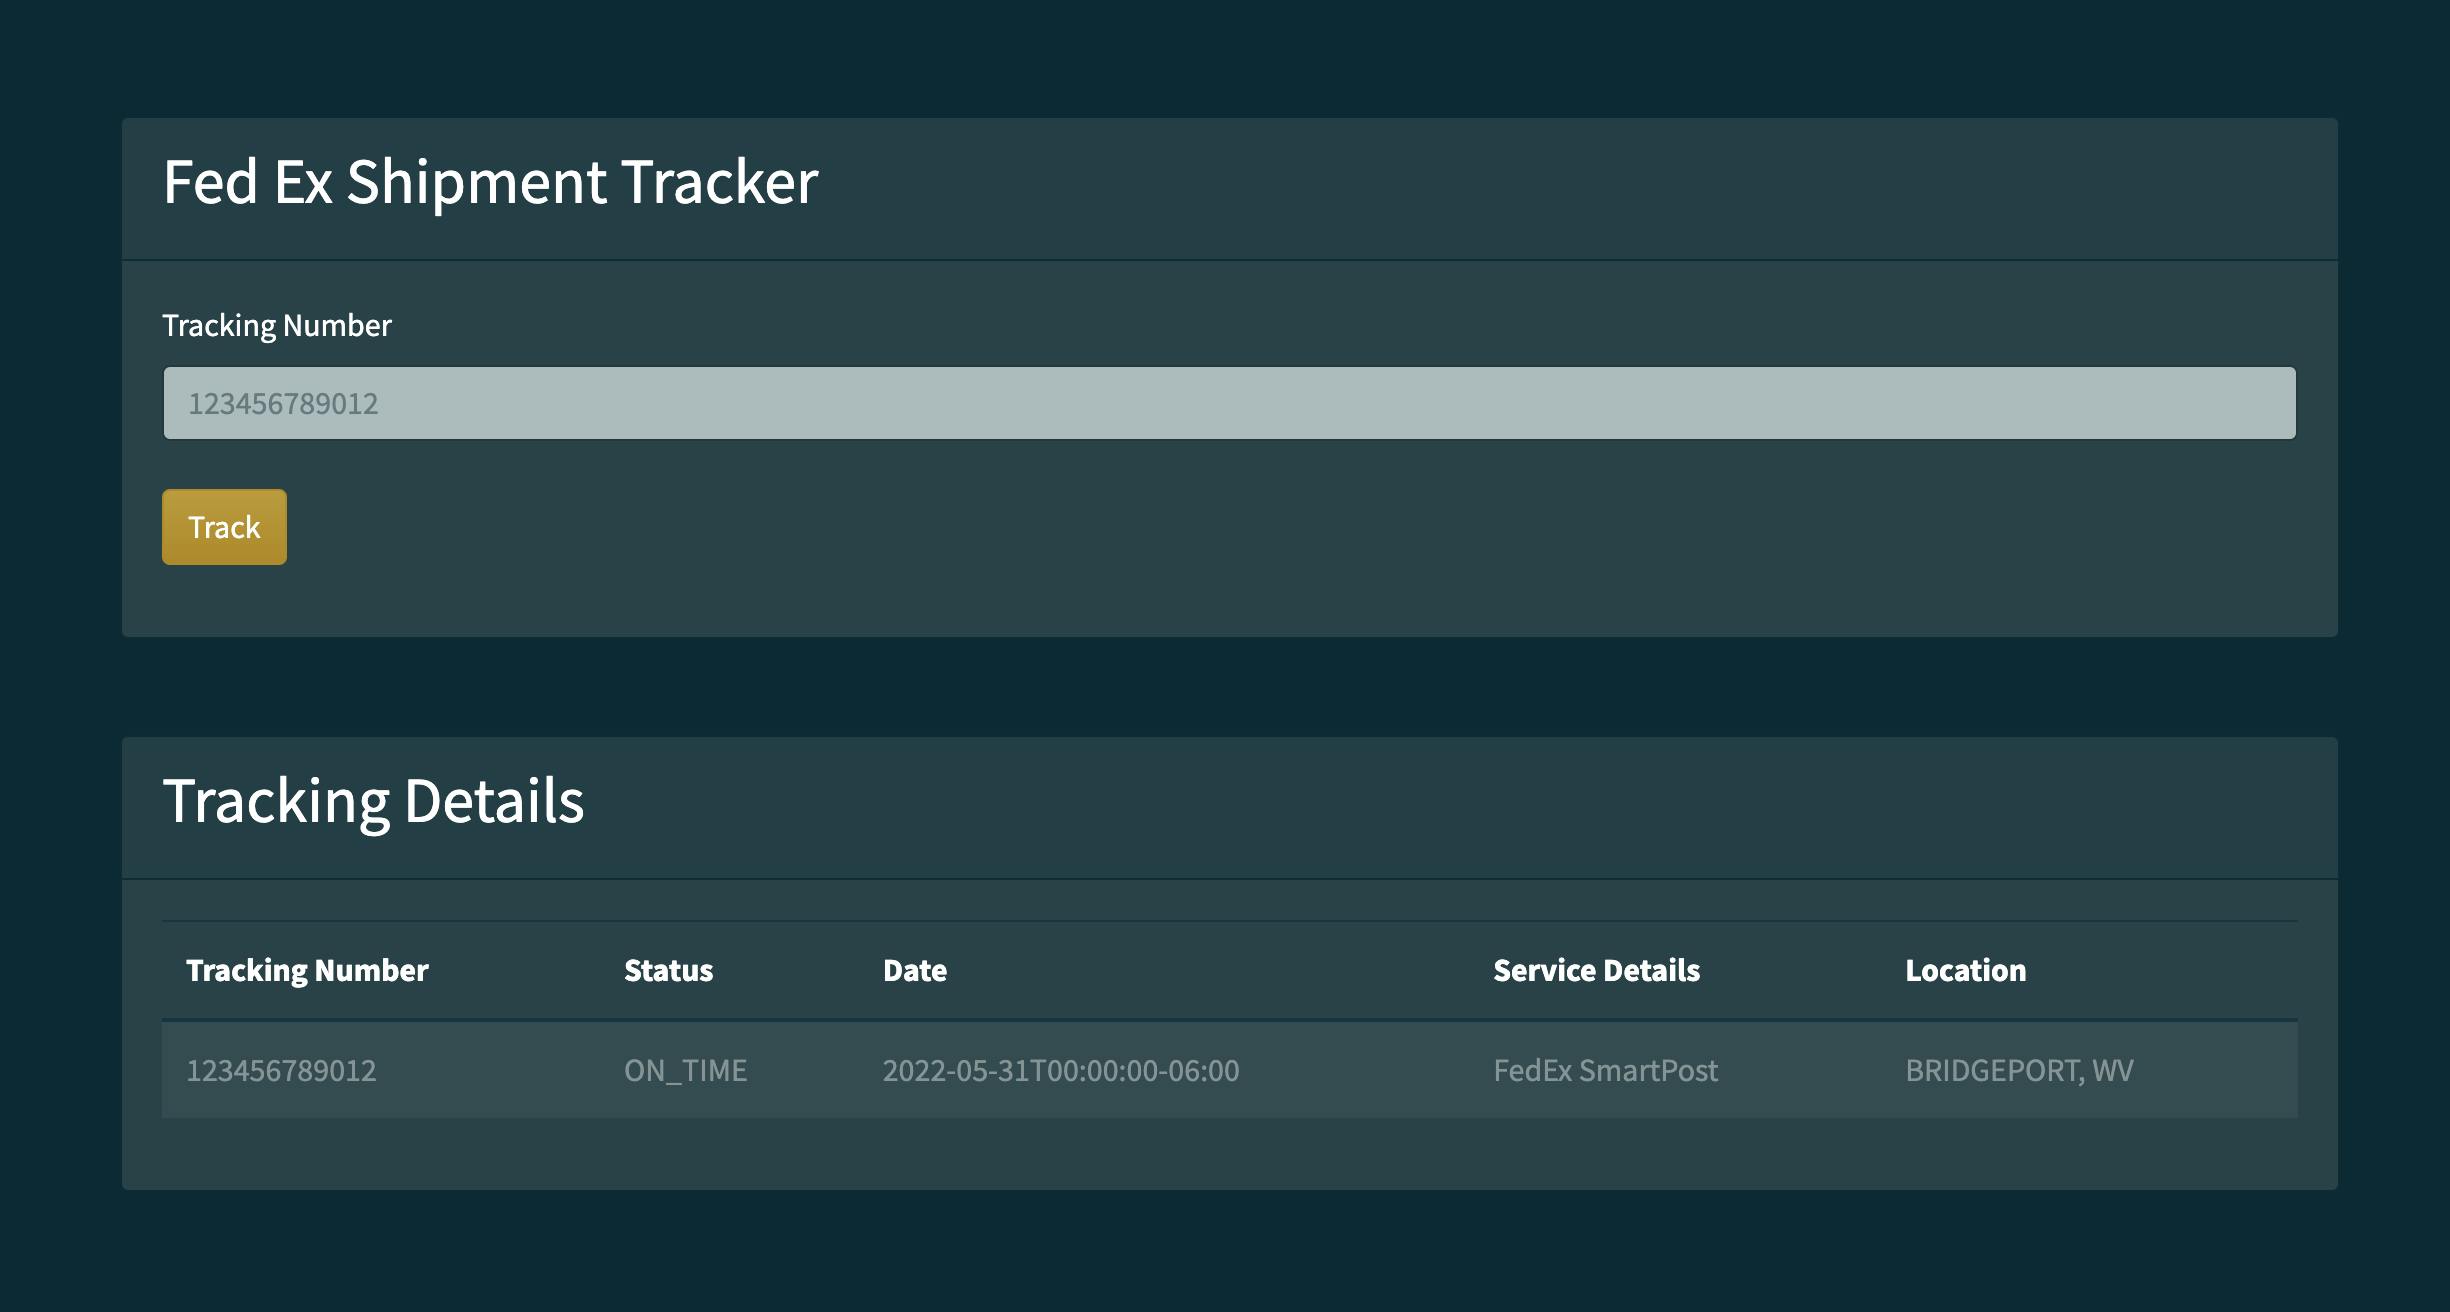
Open up your browser and go to your application URL. Type in the sample tracking number of: 123456789012 and then click on the Track button and the API will return the following data:
